NO CUT - NO TRIM Block-in-a-Block FREE Pattern!
Posted by Gerri Robinson on
Has this ever happened to you where a quilty friend shares a link to a really cool technique and you "think" you've committed it to memory until you didn't?
Yep, that's exactly what happened in this situation. I "thought" I had the technique all locked down in my memory and I was in my sewing room making a block when my block did NOT look like the block I had remembered. What happened?!!!

Preface it to say, "my mistake" turned out to be better than the original!! Why? Because "my way" requires NO TRIMMING when the block is all done.
How's that! NO CUTTING and NO TRIMMING - whose interested now?!!
Let me show you "my way" in creating the NO CUT - NO TRIM Block-in-a-Block Quilt.
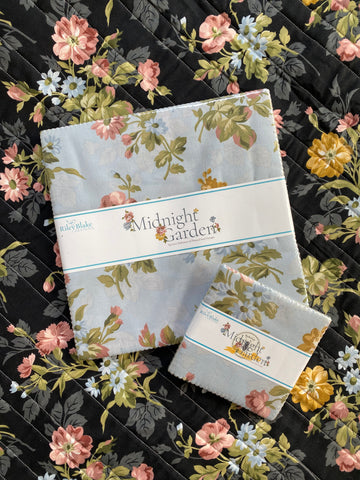
- Grab (1) EACH of your favorite 5" and 10" Stackers. I used my NEW Midnight Garden Stackers available here!

- Press BOTH the 5" and 10" squares in half vertically AND horizontally with a hot iron to create the crease.
- Place the 5" PRESSED square (right side up) on top of a 10" PRESSED square (right side up) aligning the pressed lines so the 5" square is centered on the 10" square.

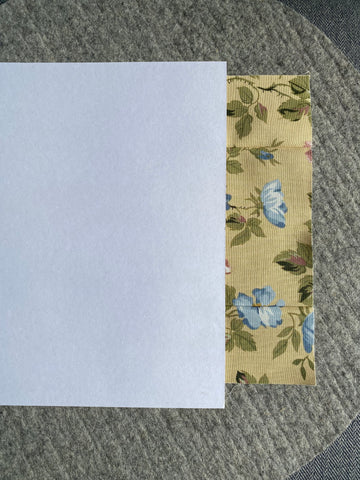
- Using the cardboard stock found in your 10" Stacker pack, lay it on top of the layered fabrics so the edge of the cardboard lines up with the edge of the 5" square.

- Using a hot iron, press the fabric onto the cardboard stock, slide the cardboard stock out and pin.


- Repeat the SAME steps on the other side.

- Sew a 1/4" from each edge.

- Press open.
- Rotate your block and REPEAT the exact steps above to the other two sides.

- To create a NO CUT - NO TRIM Block-in-a-Block finishing 9" square!

- Lay your blocks out in a pleasing fashion of 6 blocks across x 7 blocks down.
- Sew the rows together, quilt, bind and DONE!!!

- Isn't she so pretty?!
- The perfect lap size coming in at 51" x 59"!
- And perfect to make EASILY in a weekend or ONE dedicated day to quilting!
I’ve never seen this done. It’s perfect for a quick turn around top. I will be using this soon!
Well very cool. I actually used 6 and 12 because I already had some cut.
And for all beginners in sewing, what is the best way to “finish” the square? Turn the edge under and see or just sew around the block? There are many ways to “finish” a project. Explain your “finishing “ procedure.
So you don’t make a mistake like I did, you see the long edges with a 1/4” seam. When the picture SA s see a 1/4” seam you cannot tell where you sew it until two steps down the directions! Wish they would place arrows pointing to things such as where you do a step. For example “stitch a 1/4” seam. Would be very helpful!
How clever. Guess you can do this with smaller squares. Maybe a 5 inch sq and a 2 1/2 inch sq For a baby quilt. Thank you for sharing this Technique.