NO CUT - NO TRIM Block-in-a-Block FREE Pattern!
Posted by Gerri Robinson on
Has this ever happened to you where a quilty friend shares a link to a really cool technique and you "think" you've committed it to memory until you didn't?
Yep, that's exactly what happened in this situation. I "thought" I had the technique all locked down in my memory and I was in my sewing room making a block when my block did NOT look like the block I had remembered. What happened?!!!

Preface it to say, "my mistake" turned out to be better than the original!! Why? Because "my way" requires NO TRIMMING when the block is all done.
How's that! NO CUTTING and NO TRIMMING - whose interested now?!!
Let me show you "my way" in creating the NO CUT - NO TRIM Block-in-a-Block Quilt.

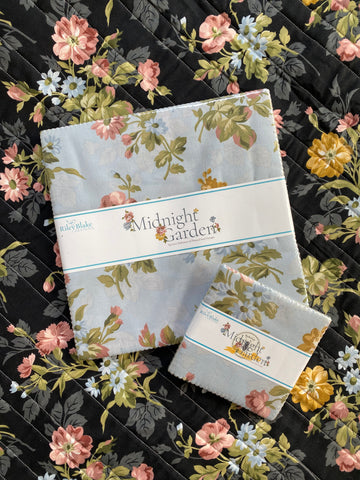
- Grab (1) EACH of your favorite 5" and 10" Stackers. I used my NEW Midnight Garden Stackers available here!

- Press BOTH the 5" and 10" squares in half vertically AND horizontally with a hot iron to create the crease.
- Place the 5" PRESSED square (right side up) on top of a 10" PRESSED square (right side up) aligning the pressed lines so the 5" square is centered on the 10" square.

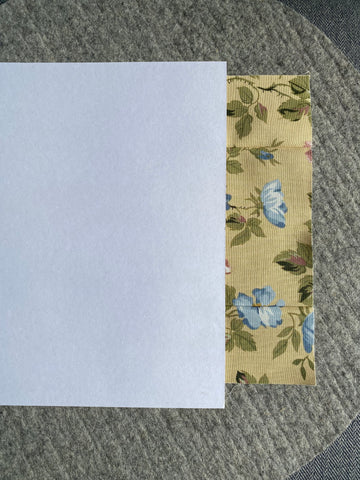
- Using the cardboard stock found in your 10" Stacker pack, lay it on top of the layered fabrics so the edge of the cardboard lines up with the edge of the 5" square.

- Using a hot iron, press the fabric onto the cardboard stock, slide the cardboard stock out and pin.


- Repeat the SAME steps on the other side.

- Sew a 1/4" from each edge.

- Press open.

- Rotate your block and REPEAT the exact steps above to the other two sides.

- To create a NO CUT - NO TRIM Block-in-a-Block finishing 9" square!

- Lay your blocks out in a pleasing fashion of 6 blocks across x 7 blocks down.
- Sew the rows together, quilt, bind and DONE!!!

- Isn't she so pretty?!
- The perfect lap size coming in at 51" x 59"!
- And perfect to make EASILY in a weekend or ONE dedicated day to quilting!

Can I just say how thankful I am I found your page and this pattern!!! I want to make a quilt so bad and have been so intimidated by the whole process. But I can do..this! Thank you!!!
Loving this pattern. Never have ever thought it would be that easy. Finishing up a 5" square king stamp for a friend. My mind is already running on this for next project with this pattern. It’s beautiful.
This is a great way to use up all my scraps .Really easy and comes out really nice ! Thank you
I’m looking for a pattern to make a King size quilt. Can I use this pattern for that? If so, how many squares do I need across and down? Thank you!
Karen
My very first post to anyone on the internet… I tried this hack, like I have tried many others. Some good and some really bad ones….and OMG…so easy and quick with no fabric wastage and even quicker if you chain piece. Made a baby quilt start to finish in a day. LOVE IT… words of caution tho- white fabric does not do well with this shortcut cause you can see the other fabric behind it and pressing correctly is key to keeping it square…otherwise a perfectly quick way to make this pattern without having to cut strips and sew them to the four sides from yardage. I will be putting this hack in my quilting box to use again and again. Thank you !!!!